Today, it’s quite common for apps to support both light and dark color modes. In fact, if your app is only available in light mode, it’s likely dark mode is a highly requested feature.
When developing apps in SwiftUI, we’re given a set of components and tools that allow us to support both light and dark modes without a lot of work. If you’re using default fonts and system colors, you get this feature in your app out-of-the-box.
Default dark mode system colors
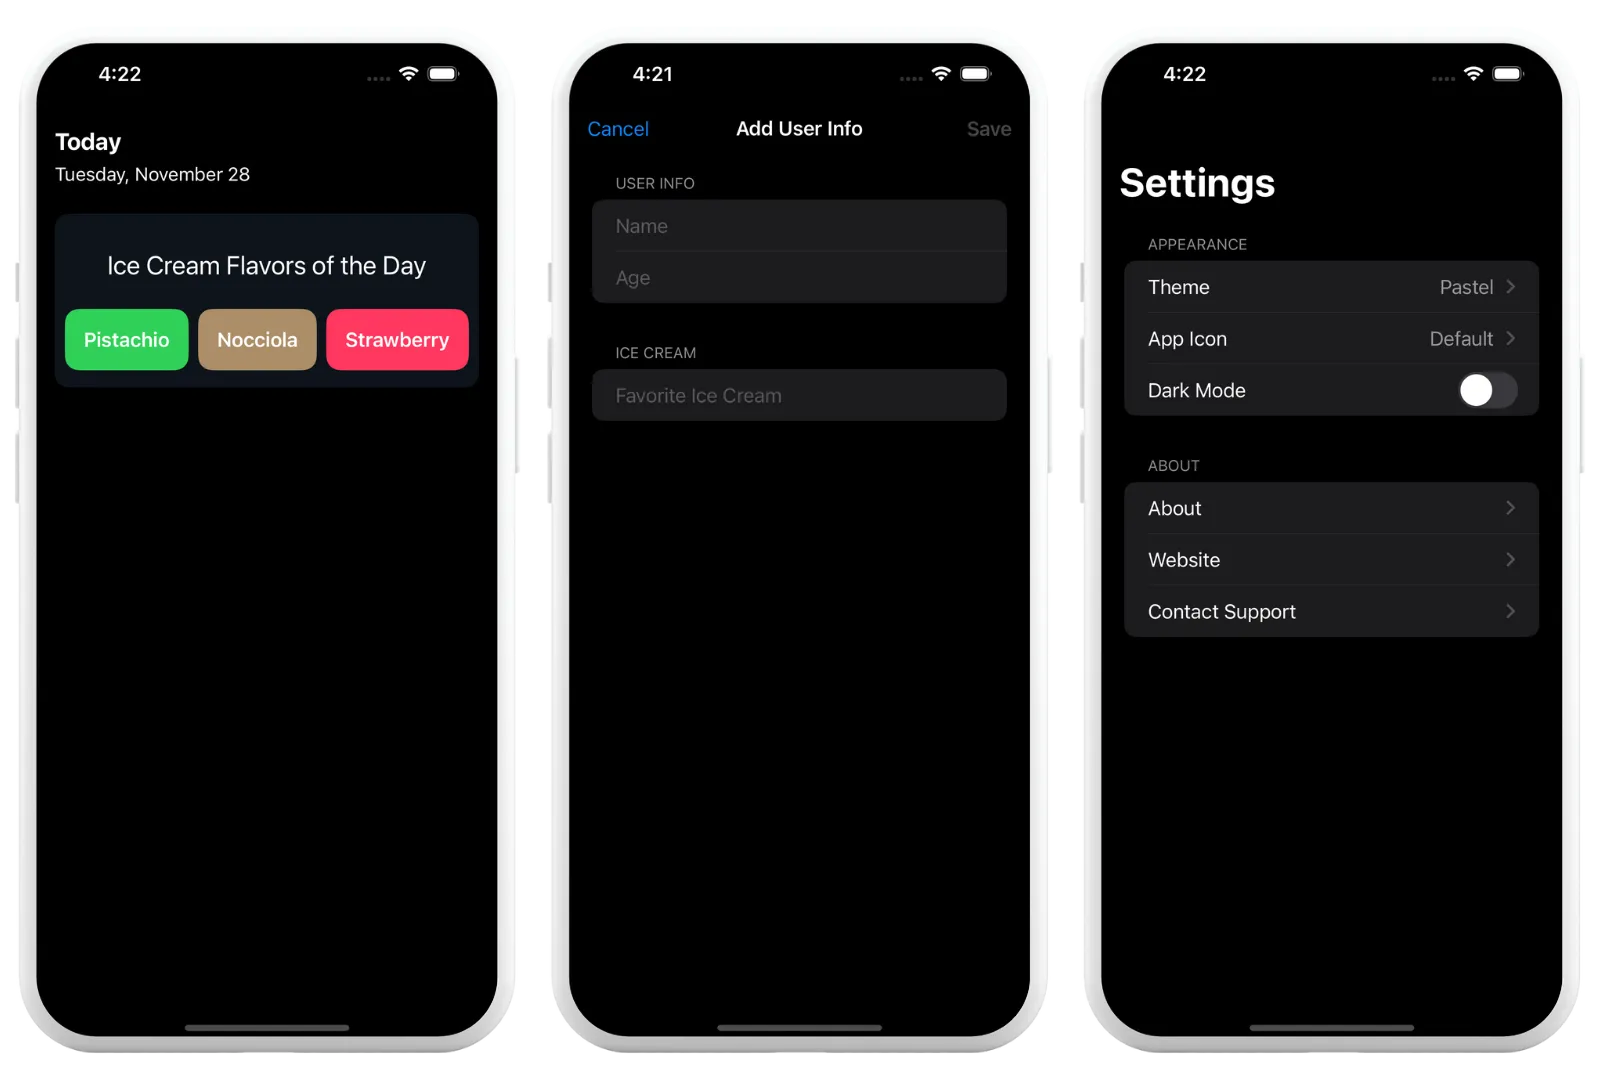
When using default system colors, the white color gets converted to black color, or what sometimes is referred to as “true black”.
This is how an app would look like in dark mode with default system colors:

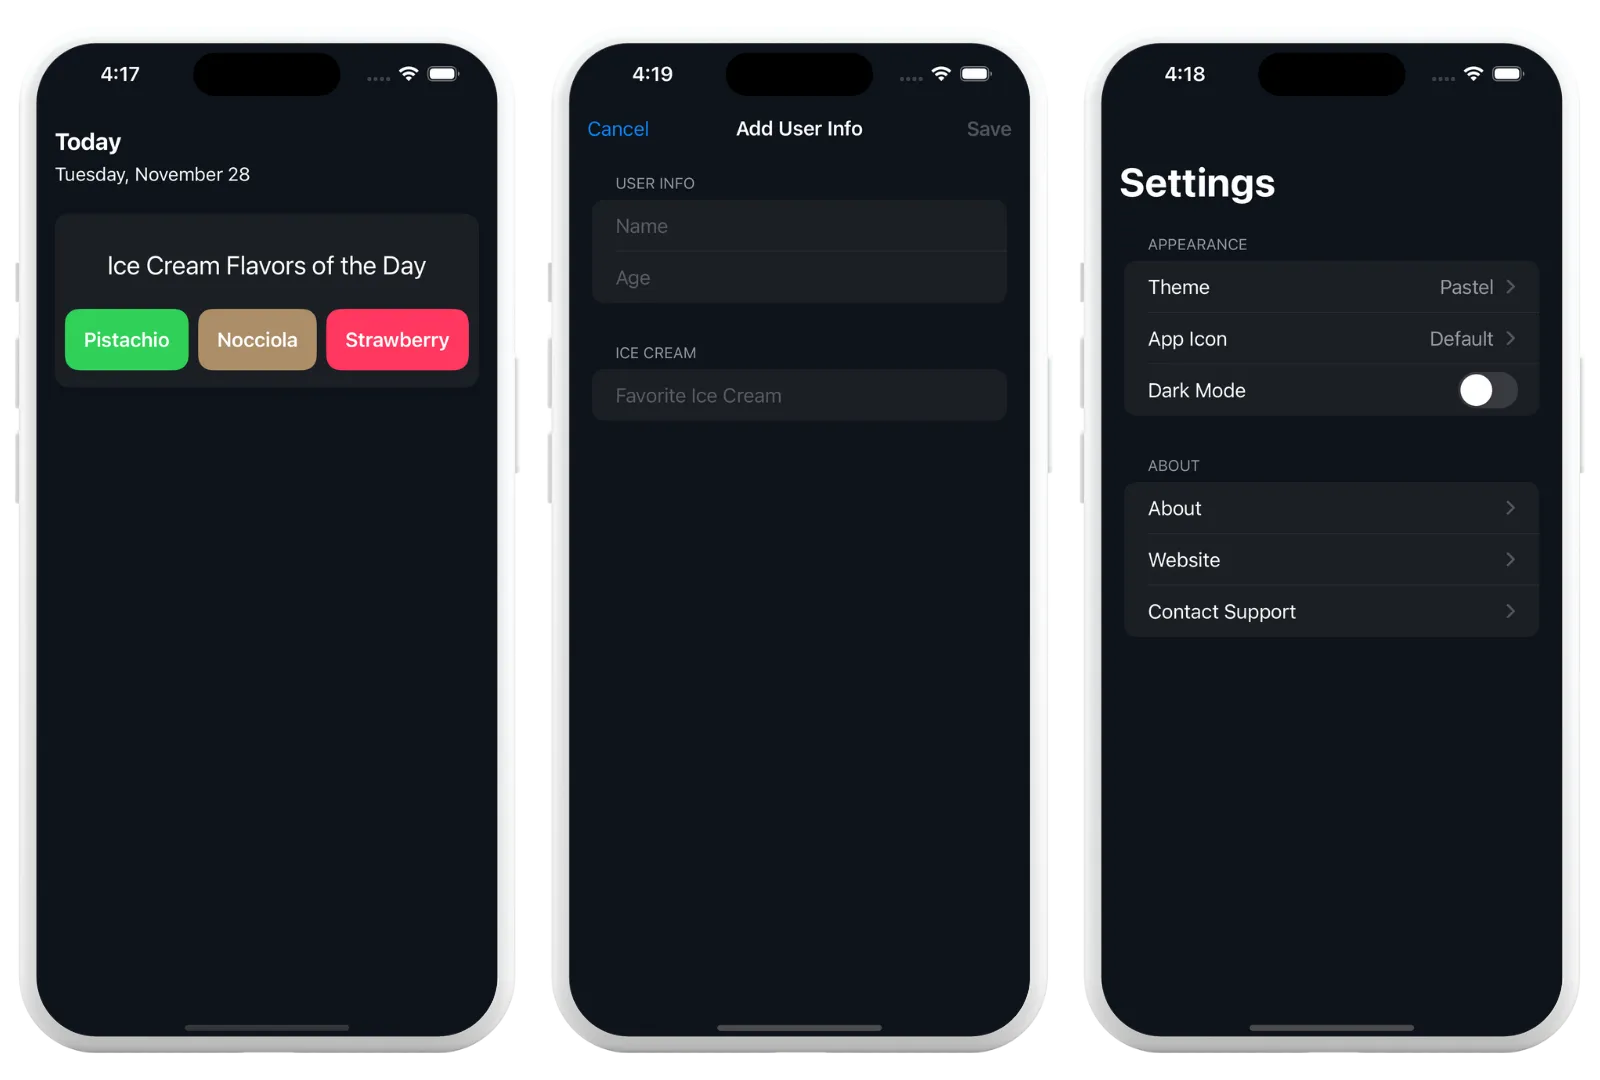
But, there might be occasions where you want a different dark mode color for your app. Like dark blue for example, which is a popular option often seen in apps.
An app could look like this in dark mode with custom dark blue colors:

Any time you’re using custom colors, you lose all the good stuff that automatically comes with system colors. Make sure your colors follow Apple’s Human Interface Guidelines and use good contrast and accessibility features. I suggest reading the Accessibility’s Color and Effects and Color sections of the guide to learn more.
Let’s implement a custom dark mode color in our app - dark blue.
Color assets
First, we need to create the Color Assets.
Add the following three colors to your Assets.xcassets folder:
- Background
- Any Appearance (Light) -
#FFFFFF - Dark -
#0E141B
- Any Appearance (Light) -
- ListBackground
- Any Appearance (Light) -
#F2F2F7 - Dark -
#0E141B
- Any Appearance (Light) -
- ListRowBackground
- Any Appearance (Light) -
#FFFFFF - Dark -
#1C1F24
- Any Appearance (Light) -
We’ll use Background for the ScrollView and all other general Views. ListBackground and ListRowBackground are specifically for the List and Form. These two views are both scrollable views. But the difference is they both have rows or sections which need to have a different background color.
Both Background and ListBackground have the same dark mode color, but the ListBackground is not pure white in light mode. It’s light gray.
I chose the above colors to my liking, but you’re welcome to update them to your preference. Light mode colors are mimicking the default light mode system colors. Only the dark mode colors are different.
View Background
Adding background color to regular views, like VStack and HStack is simple. All you need to do is add background() modifier to the top most view in your view hierarchy.
In this example, the top most view is a VStack:
struct ContentView: View {
    var body: some View {
        VStack {
            HStack {
                VStack {...}
            }

            VStack {...}
        }
        .padding()
        // Add background color to the VStack
        .background(Color.background)
    }
}
That’s it! This will apply a custom background to your entire view.
ScrollView Background
ScrollView is a bit different and requires an additional modifier to change the background.
We can take the above ContentView and embed the VStack in the ScrollView:
struct ContentView: View {
    var body: some View {
        ScrollView {
            VStack {
                HStack {
                    VStack {...}
                }

                VStack {...}
            }
        }
        .padding()
        // Add background color to the ScrollView
        .scrollContentBackground(.hidden)
        .background(Color.background)
    }
}
Before we apply a custom background to any scrollable view, we need to remove the default background of that view with scrollContentBackground(.hidden) modifier.
Applying background() without removing the default background of the scrollable view will not have any results.
List and Form Background
List and Form are also scrollable views, so the same principle applies. Add the scrollContentBackground(.hidden) and background() modifiers at the end of the list:
struct ListView: View {
    var body: some View {
        NavigationStack {
            List {
                NavigationLink {
                    SomeView()
                } label: {...}

                NavigationLink {
                    SomeOtherView()
                } label: {...}

                Section {
                    NavigationLink {
                        SomeDifferentView()
                    } label: {...}
                } header: {
                    Text("Header")
                }
            }
            .navigationTitle("Settings")
            // Add background color to the List
            .scrollContentBackground(.hidden)
            .background(Color.listBackground)
        }
    }
}
The only difference in this case is the color we’re applying. We’re using the ListBackground color so the view looks good in light mode as well.
Remember to always use this pair of modifiers when working with any scrollable view, like ScrollView, List and Form.
Next, we need to change the background color of the list row as well.
List and Form Row Background
List and Form both have rows that use different background colors then the rest of the view.
We need to change that color as well or the default system color will be used which doesn’t go well with our new dark blue color.
struct ListView: View {
    var body: some View {
        NavigationStack {
            List {
                NavigationLink {
                    SomeView()
                } label: {...}
                // Add background color to the list row
                .listRowBackground(Color.listRowBackground)

                NavigationLink {
                    SomeOtherView()
                } label: {...}
                // Add background color to the list row
                .listRowBackground(Color.listRowBackground)

                Section {
                    NavigationLink {
                        SomeDifferentView()
                    } label: {...}
                } header: {
                    Text("Header")
                }
                // Add background color to the list row
                .listRowBackground(Color.listRowBackground)
            }
            .navigationTitle("Settings")
            // Add background color to the List
            .scrollContentBackground(.hidden)
            .background(Color.listBackground)
        }
    }
}
To change the background color of the list row, add the listRowBackground() modifier to the row itself. If you have multiple rows, you need to add it to every row. When you have a Section in the code, you can add the modifier there and it will apply to every row in that section.
That’s it! There’s not a lot of code here, but a lot of figuring out what modifiers to use and where to apply them.
Final Thoughts
System default background colors are a great start when developing your apps. But sometimes you want to change them and add your own custom colors.
If you do decide to use your own colors, always make sure the colors have good contrast.
Please feel free to reach out on X (Twitter) or Mastodon if you have any questions, comments, or feedback.
Thank you for reading and happy coding!
